Review: Club Crown Stripes


The Club Crown Stripe comes with instructions on proper installation. The multi-step process is really quite easy. They even give you a clear practice stripe to test it first. I’m not sure it is necessary, but depending on your DIY skills it might be a good idea. The trickiest part is cutting the back end of the stripe. They have a string cutting method that will work well if you make sure the section after the string is stuck to the driver head.
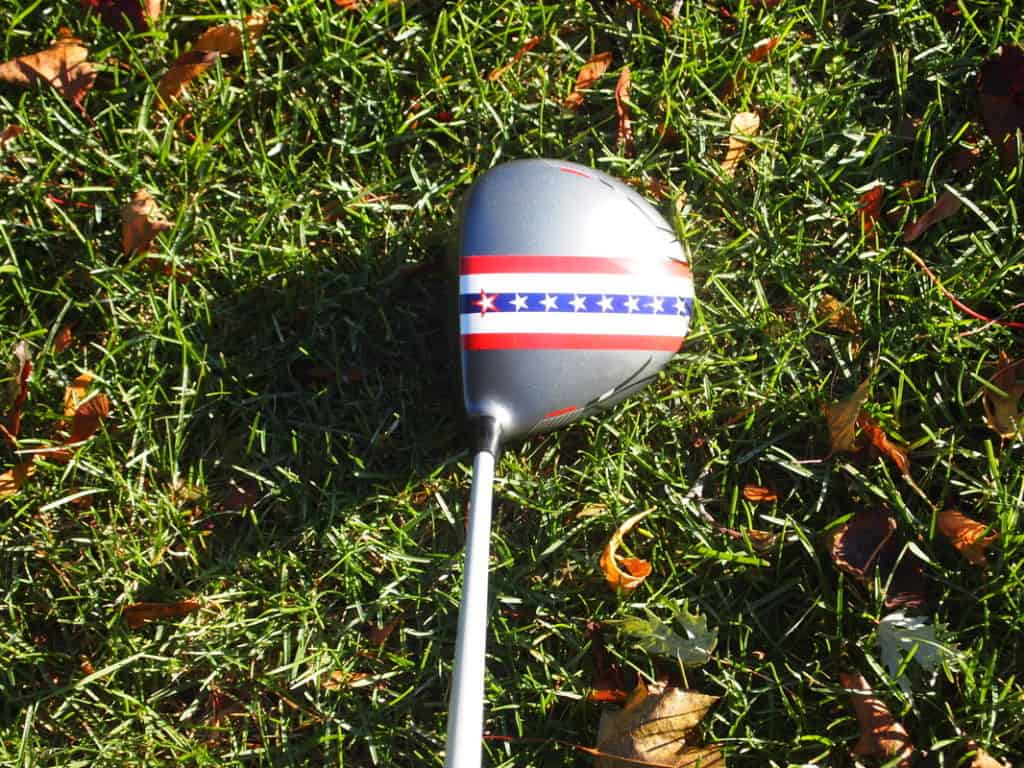
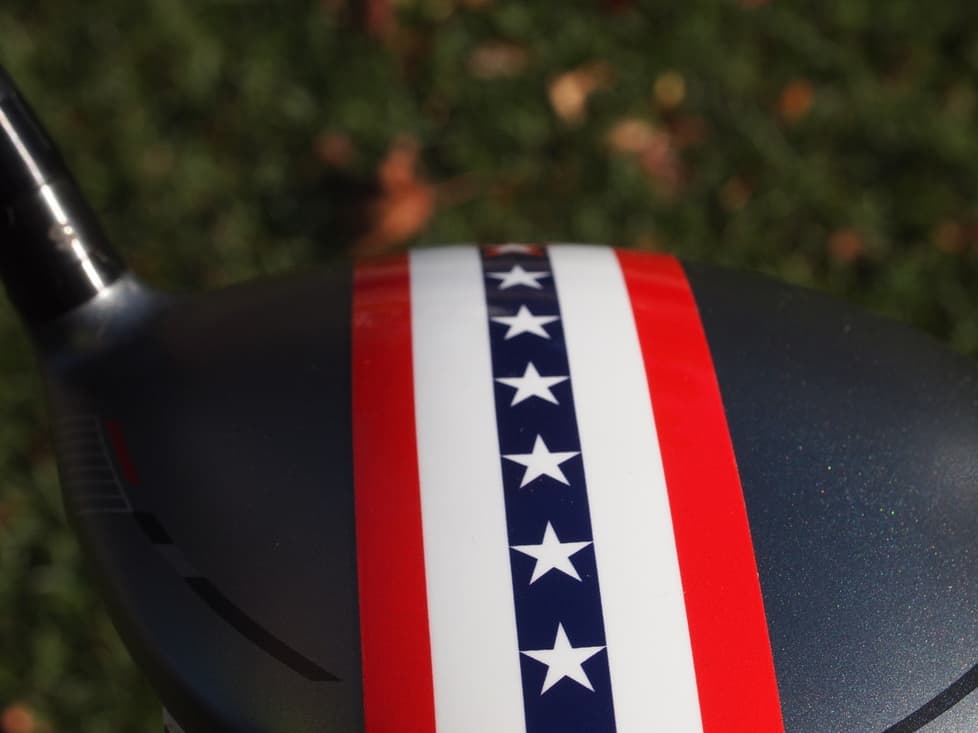
So basically you find the center point of your driver where you want the stripe to aim, start there and work your way back from the face of the club to the back. Go slow and work out all the kinks and bubbles along the way. It was really very easy. When you get near the end of the driver head, you will have wanted to install their string “cutter” where you want the stripe to end, but make sure to keep installing the stripe well past that point, down the back and even onto the bottom of the club. (just like their directions state). A little tip I learned will make it super easy; use a razor knife and just make a tiny little cut on the edge of the stripe right where the string meets the stripe. This way when you rip the string off like a “band-aid”, it will have a clean start.

Club Crown Stripes aren’t going to make your driver better, lower spinning, or longer. They might help with alignment, but their real benefit is making that driver look new for $19.99, even if it is a few seasons old. The added bonus of it being a DIY project, there is not down time. The stripe will arrive in the mail and within minutes you can take it to the course. Club Crown Stripes are DIY to a new driver.
For more information: www.clubcrownstripe.com
Quick Hits
+DIY to a new driver
+Easy Installation
+60+ options
+Durable
+Easy removal with no paint damage

