- Updated: December 14, 2022
How To Clean Golf Balls Properly
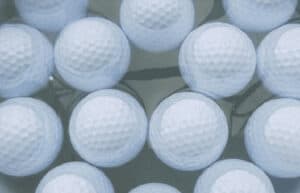
Playing a dirty golf ball with dirt-filled dimples severely affects a player’s performance and scores on the golf course.
Golf is challenging enough on its own. It’s a player’s responsibility to themselves to use properly clean golf balls every time they tee it up.
Our golf ball washing guide includes 5 great methods to make your golf balls squeaky clean without causing any damage, plus some additional tips on what to do with the balls that don’t make the cut!

The "Classic" Method: Soapy Water with Towel and/or Old ToothBrush
What You’ll Need: 1 or 2 Buckets, Wash Cloth, Old ToothBrush or Brush of Some Kind, Water, Dish Soap
One of the simplest ways to clean your golf balls once they get dirty is to use a bucket filled with warm water and a small added amount of regular dish soap.
After mixing the soap and water, your golf balls can then be submerged.
Lightly soiled balls that weren’t horribly dirty when submerged should be perfectly clean after giving them a vigorous wiping with a washcloth.
For golf balls that are mildly dirty with some caked-on dirt or other debris, golfers can use an old toothbrush or any type of brush with softer plastic bristles to clean the dirty areas.
If you want to go the extra mile with an additional bucket, give your golf balls a final rinse in clean water before you dry them.
For golf balls that are still dirty after their dunk and scrub into the soapy water mixture, we have another method.
The "Soak" Method (Bleach, OxyClean, and Hydrogen Peroxide Water Mixture Recipes)
What You’ll Need: 1-2 Buckets, Water, Your Choice of Cleaning Solution (Bleach, OxyClean, Hydrogen Peroxide, White Vinegar) Cleaning Brush, a Towel, or Cloth
If scrubbing your dirty golf balls with the soap and water mixture we talked about isn’t working well enough, or you just don’t want to use as much “elbow grease,” letting your golf balls soak might be the perfect method for you.
Begin by filling a bucket with hot water and adding one cup of Bleach, Hydrogen Peroxide, White Vinegar, or OxyClean.
Regardless of the cleaning solution you chose to add, you should only let the golf balls soak 20 to 30 minutes before removing them, as balls with a crack or cut in their exterior could become “waterlogged” (filled with water) from prolonged water exposure.
After the balls have had a decent amount of time to soak and loosen the dirt and debris stuck to their exterior, a soft-bristled brush and cloth to dry them should have your golf balls looking clean and shiny.
After speaking with many cart shed attendants over the years, we’ve been told that adding one cup of particularly OxyClean to your warm water mixture will make golf balls come out more white and “clean looking” than just water and dish soap.
Dishwasher Method
What You’ll Need: Dishwasher, Dish Soap, The Ability to Stop the “Heated Dry” Cycle
Using the “Dishwasher Method” has been controversial in the “golf ball cleaning online world” for decades.
Depending on the resource you’re listening to, you’ll be told things like, “Make sure you put the golf balls in the silverware compartment.”, “Make sure you use the top rack of the dishwasher.” or “Put the golf balls in a mesh bag before putting them in the dishwasher.” but without the reasoning for these decisions included?
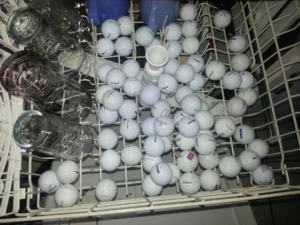
To put these claims to the test, I put golf balls in every compartment of my dishwasher but made sure I turned off the “Heated Dry” cycle.
Out of the 25 golf balls I tested, I didn’t have a single ball show signs of damage regardless of where they were put in the dishwasher, meaning these claims are likely nonsense.
Every golf ball came out looking fantastic!
I wasn’t willing to test using the “Heated Dry” cycle on my dishwasher, as prolonged extreme heat exposure can severely affect a golf ball’s performance. That being said, if your dishwasher doesn’t have the option to turn this off, I would only use this method at your own risk!
Do You Have Bulk Balls with Heavy Dirt? Starting a Ball Reselling Hustle?

What You’ll Need: Toilet Brush or Long Handle Cleaning Brush, Power Drill, Bucket, Cleaning Agent, Water
There has been massive growth in the golf ball reselling market since “The Great Golf COVID Boom” began. Golfers worldwide are going to their local golf courses, skimming the ponds, and walking the out-of-bounds lines to recover as many lost and forgotten golf balls as they can find to wash, package, and resell to consumers.
Regardless of your situation, if you find yourself with bulk dirty golf balls and don’t want to clean them by hand, you can automate the process a bit by using a toilet cleaning brush attached to the end of a drill.
Simply fill a bucket with your dirty golf balls, warm water, and your choice of cleaning agent.
After your cleaning brush is attached to your drill, place the brush inside the golf ball/soapy water solution and clean away!
The power from the drill cleans golf balls exponentially faster than every other method on our list and additionally saves you from having to do everything by hand. Still, unless you’re consistently cleaning a lot of golf balls, this method might not make the most sense for your situation.
Linked is a video explaining how to build one of these drill-based golf ball cleaning setups for $3.50!
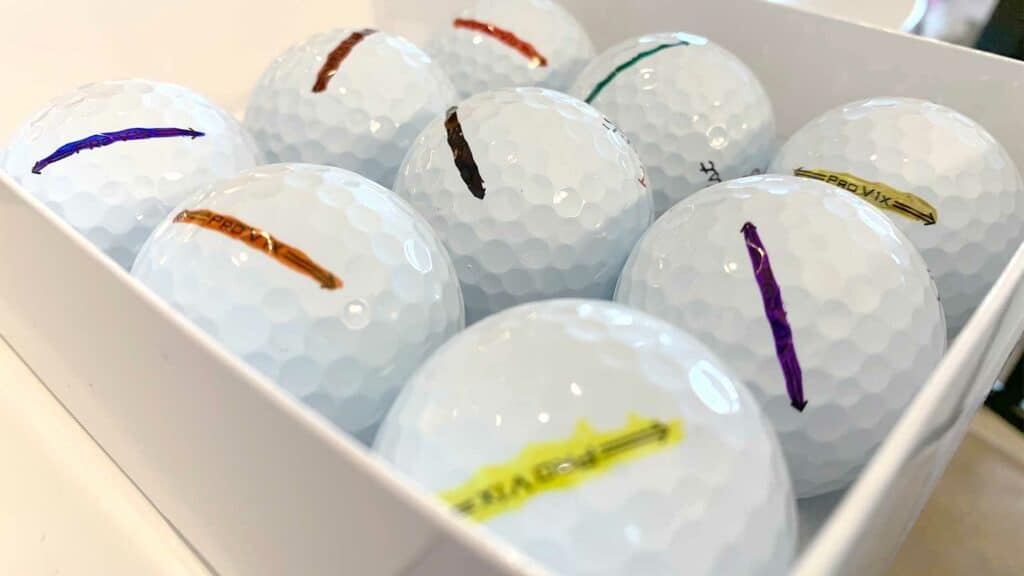
Trick to Remove Permanent Marker Lines and Marks
There are three standard methods for removing Sharpie and permanent marker lines and symbols from golf balls; Acetone, Nail Polish Remover, and Rubbing Alcohol.
Depending on how dark of color the permanent marker is on a golf ball, begin with simple rubbing alcohol and “Magic Eraser.”
If that doesn’t work, you can progress to a cotton swab and nail polish remover. Acetone is the harshest of the compounds, and use gloves and caution before you use it!
Secret Tip
If those methods don’t work, we have a secret trick from teachers that 100% removes every permanent marker mark from every golf ball.
Golf coaches across the country have found that if you take a “Dry Erase” whiteboard marker and color over the permanent marker line, then wipe to remove it, every line or marking from the permanent marker will be removed.
Don’t believe us? Try it for yourself!
Things to Avoid When Cleaning Your Golf Balls
Don't Soak Golf Balls for Too Long
As previously mentioned, soaking golf balls for extended periods of time risks allowing golf balls with cuts or deep enough scratches to their exterior to become filled with water, rendering the ball useless.
Don't Let Your Golf Balls Dry in the Sun for Too Long
Letting your golf balls dry in the sun is fantastic, but only for a short time.
Prolonged exposure to high heat and the sun’s UV rays deteriorates golf balls faster and changes their internal compression rating, potentially harming carry distance and how the ball reacts off the club face.
Don't Use Stiff Bristles and Metal Brushes
Too stiff of bristles or sharp metal brushes can scratch the surface and remove layers of the exterior cover, shortening the lifespan of the golf balls.
Don't Use Undiluted Bleach
Soaking your golf balls in undiluted bleach or too corrosive of a cleaning solution can compromise the golf balls’ outer layer, shortening the ball’s lifespan and damaging a player’s performance.
If you’re going to soak your golf balls, please follow our advice of going for at most half an hour.
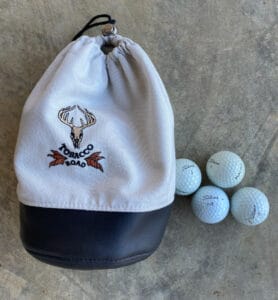
Final Step: What To Do With Golf Balls You Don't Like After Cleaning
After you’ve cleaned your golf balls to your liking, do a once over of your stock and look if any balls have scuff marks, nicks, or cuts to their exterior that should negate them from the “playable” category.
With these now clean but technically improper to-use balls, create a “practice bag,” also known as a “shag bag.”
Having your own shag bag makes practicing anywhere that much easier.
Still don't believe you should clean your golf balls every chance you get?
Here’s a test Titleist completed with Rafa Cabrera Bello back in 2017 to show how aerodynamics and the depths of specific dimples can drastically affect a golfer’s ability to hit the ball straight and toward their target.
Having dimples just fractions of millimeters different on either side of the golf ball drastically affected even a high-level professional’s performance!
About The Author
Writers of Independent Golf Reviews
Independent Golf Reviews has tested and reviewed 1000+ golf products over the past 10 years. We use our experience and expertise to give golfers an unbiased insight on the market.
Read more…
Share
Receive the best golf discounts available exclusively for our subscribers and be auto entered into our monthly golf giveaways!
Success!⛳️
You are now an official member of IGR. Keep an eye out for the perks.
No spam, ever. 🔒